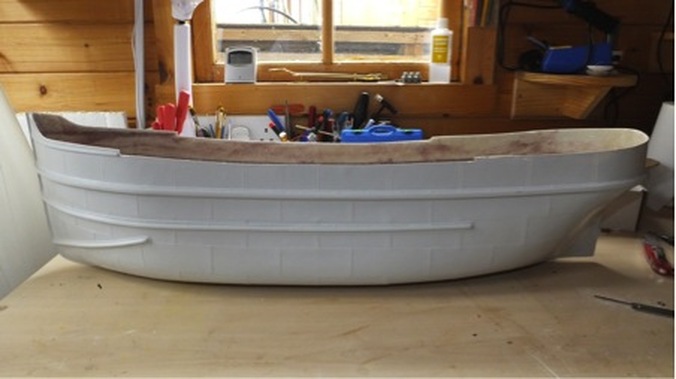
The hull.
The first thing was to discard the prop shaft supplied and purchase a Roboesch waterproof one as it has to be mounted horizontally.
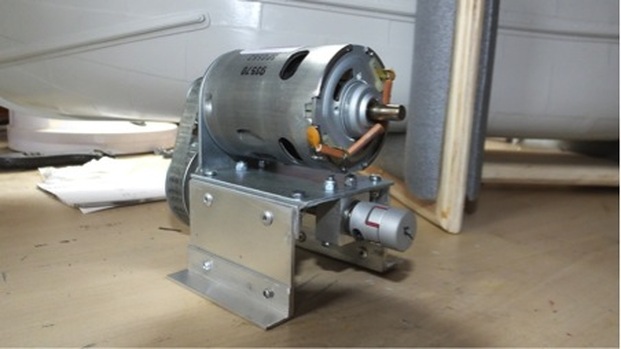
The propulsion unit I have chosen is a Torpedo 800 with a 2:1 belt reduction unit coupled to the prop shaft with a Motionco miniature coupling. Since the drive is parallel to the hull great care was taken building the mounts and lining up the prop shaft. The prop shaft
The propulsion unit I have chosen is a Torpedo 800 with a 2:1 belt reduction unit coupled to the prop shaft with a Motionco miniature coupling. Since the drive is parallel to the hull great care was taken building the mounts and lining up the prop shaft. The prop shaft came in a 25cm length so it had to be cut down to the correct length.
Below, the motor and mount
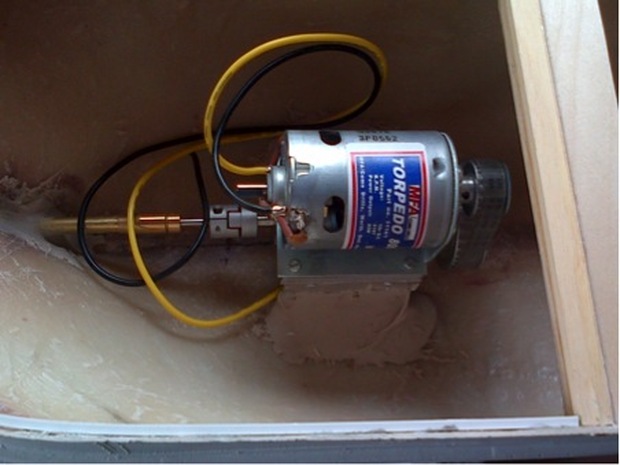
And the motor and mount fitted in the hull
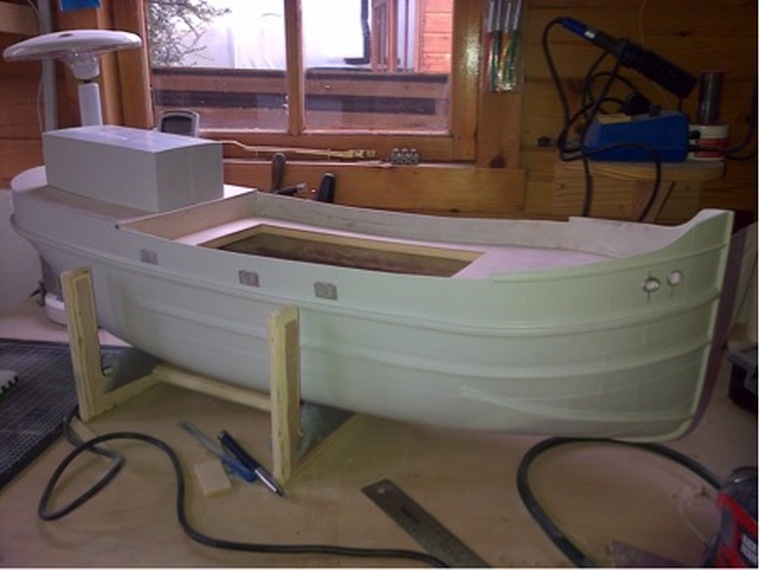
Once that was done the rudder could be fitted and bonded into the hull. The main deck supports could then be bonded into place and the decks fitted. The rough surface of the fibreglass was then smoothed with Isopon and the washboards and anchor holes fitted.
The hull with rudder and decks fitted
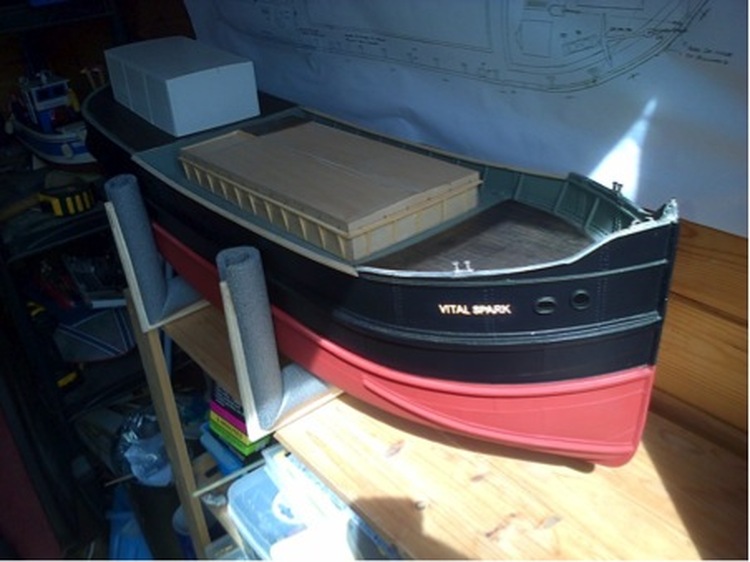
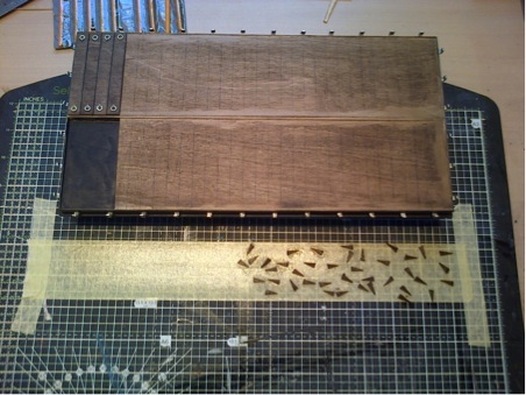
Next the rivet plates and supports were fitted to the deck. The main hatch was made from plywood; the hull was then painted with Halfords red oxide primer and matt black auto paint. The deck detail sheets were cut out from the printed plywood provided and I stained them with dark oak. The deck area was primed with a grey acrylic paint.
Deck fittings
The main hatch is made from stock ply supplied with the kit, it is designed to be covered with a tarpaulin so fastenings have to be filed down and fitted around it. I have removed hatch boards from one end so I can roll the tarpaulin back and show the coal hatch. Small wooden wedges had to be cut to secure the tarpaulin.
The hatch with all the wooden wedges:
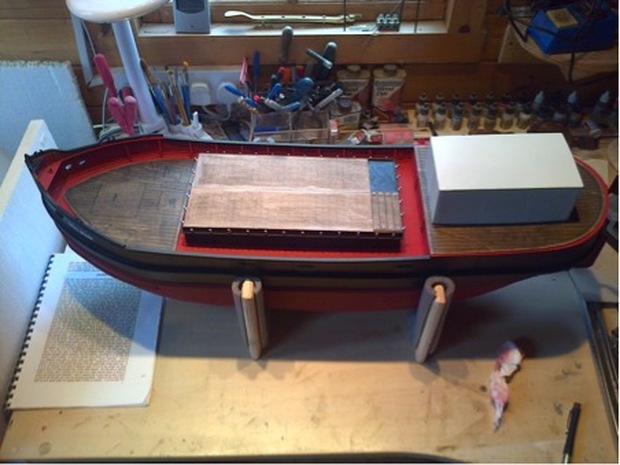
And below the deck area now painted but yet to be varnished.
And below the deck area now painted but yet to be varnished.
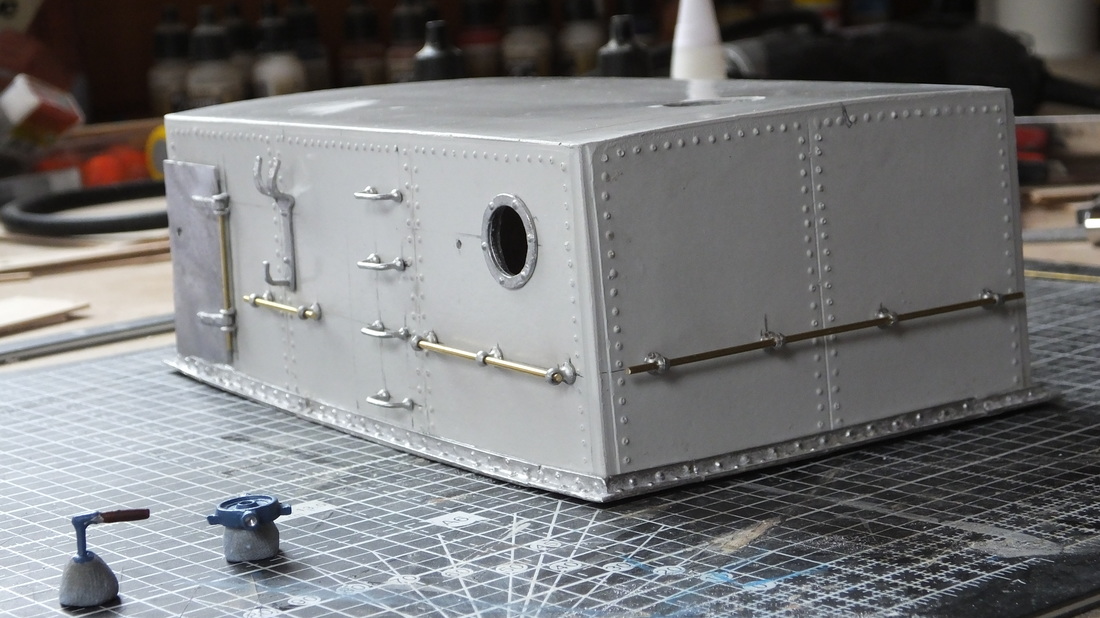
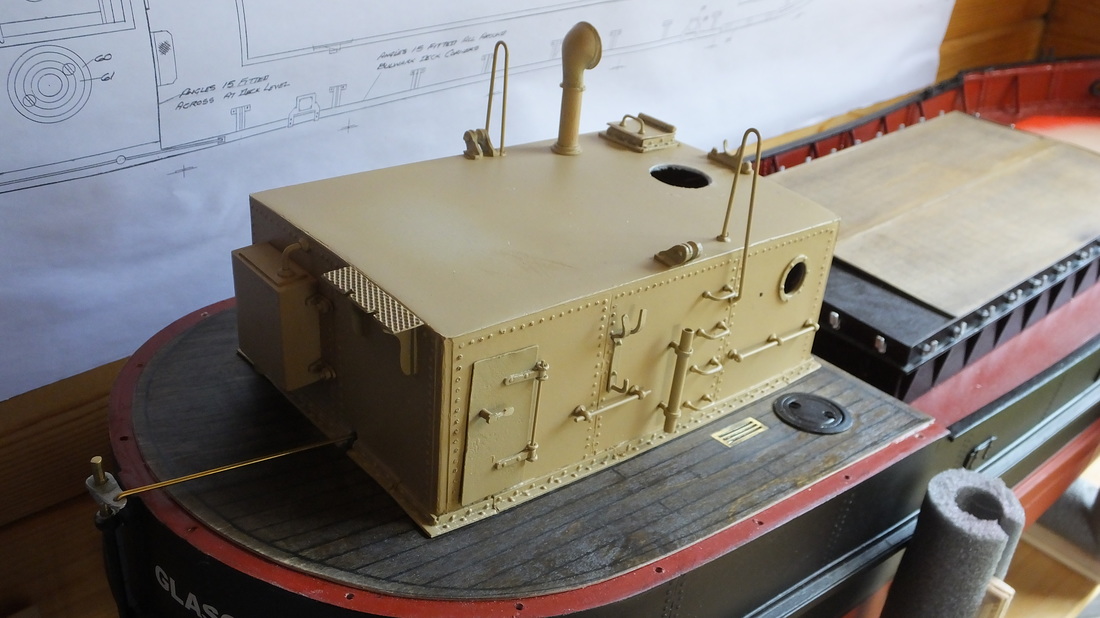
The superstructure is detailed with rivets, hand rails and doors.
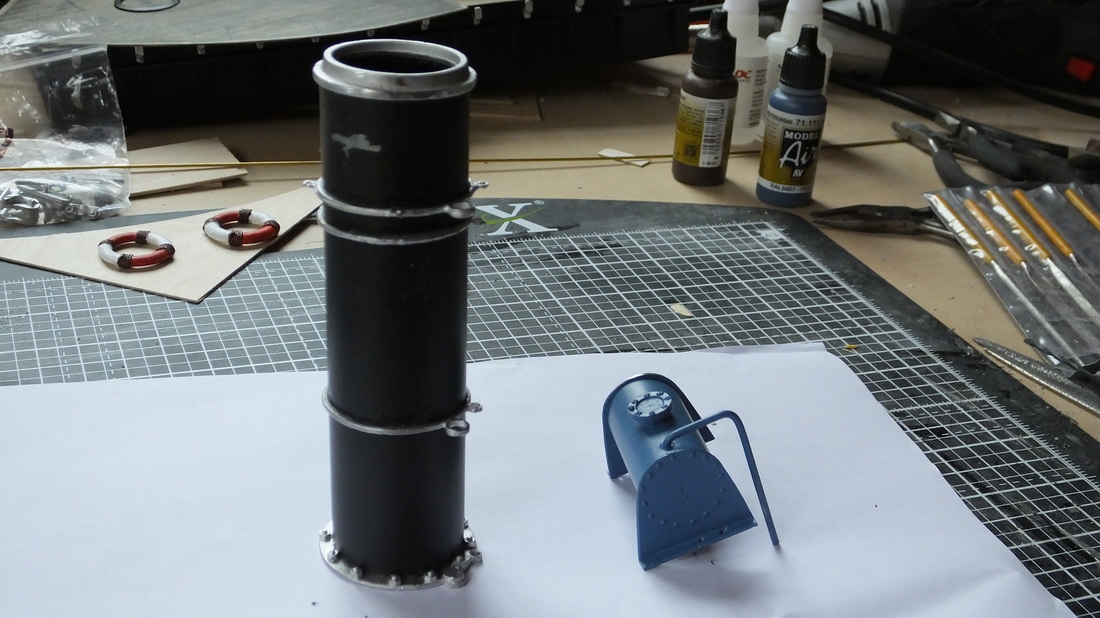
The Funnel is detailed with strengthening bands and bolts
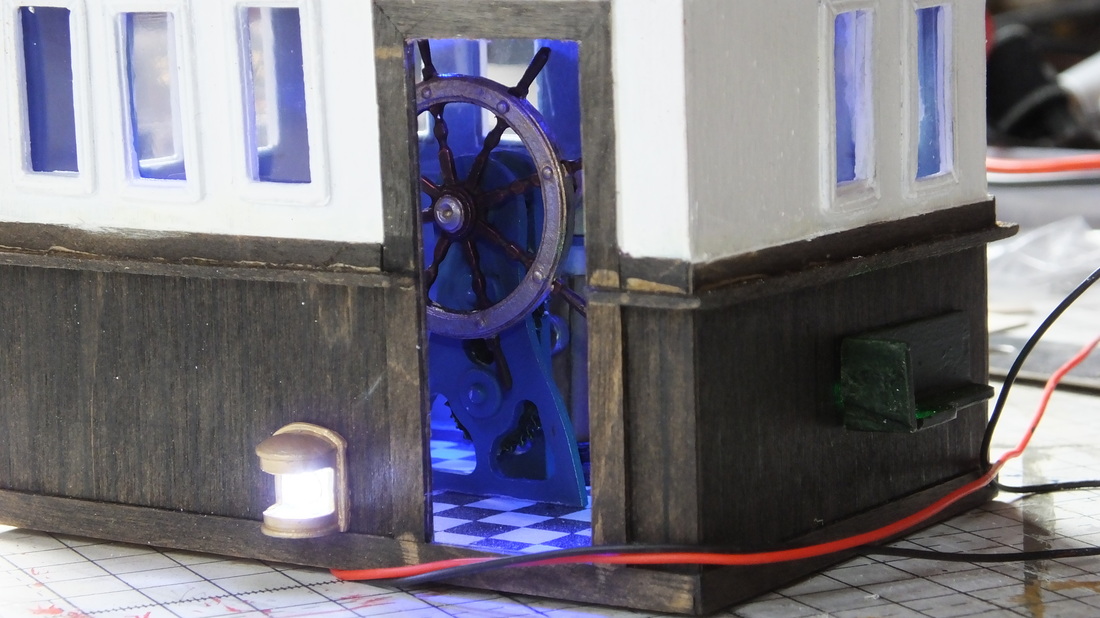
The Cabin detailed and lit up
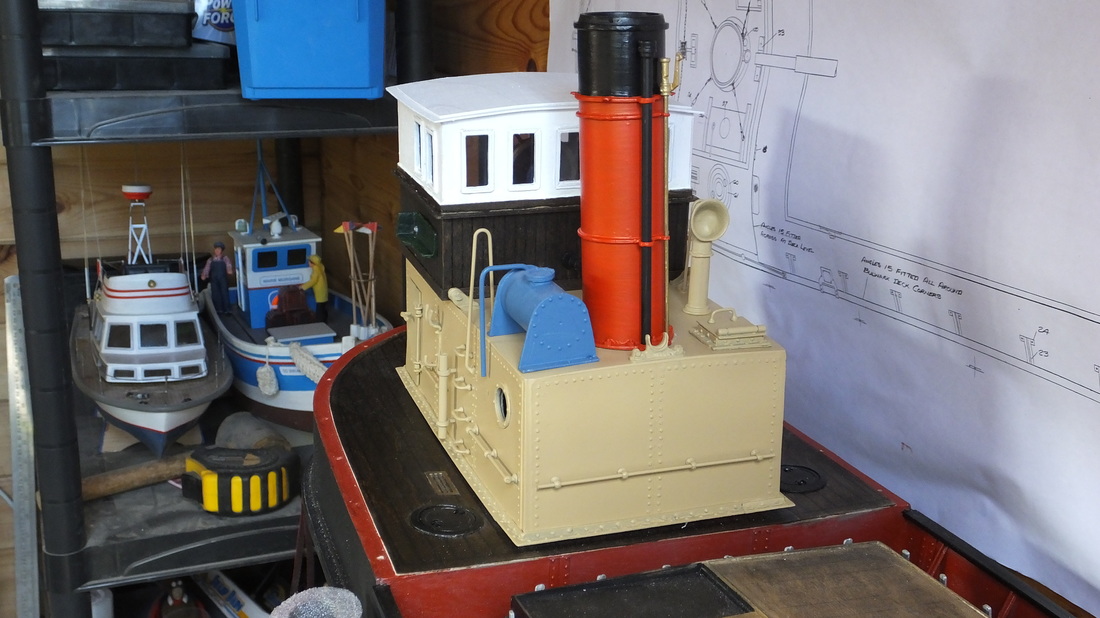
Final paint scheme of the superstructure
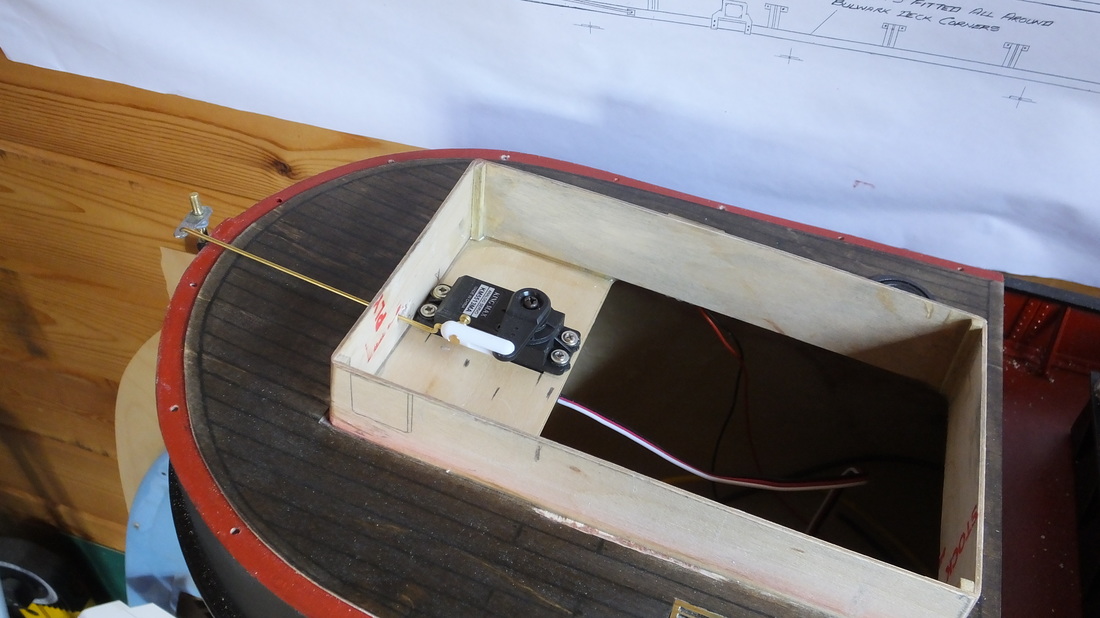
The hidden servo in the superstructure coaming attaching to the tiller arm
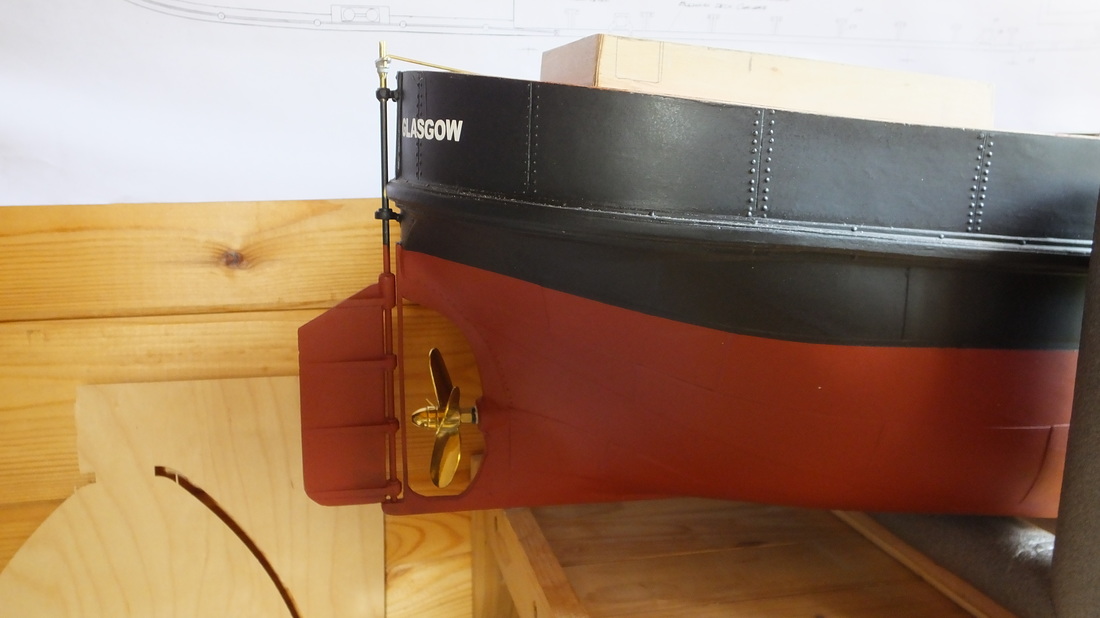
The paint work, name added and the rudder attached in place
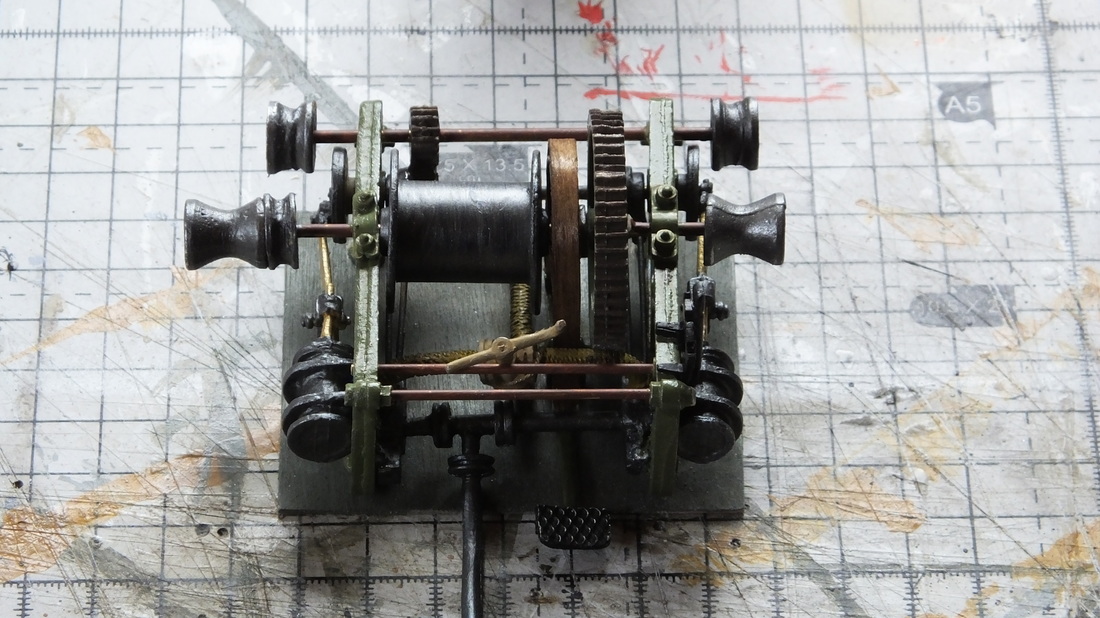
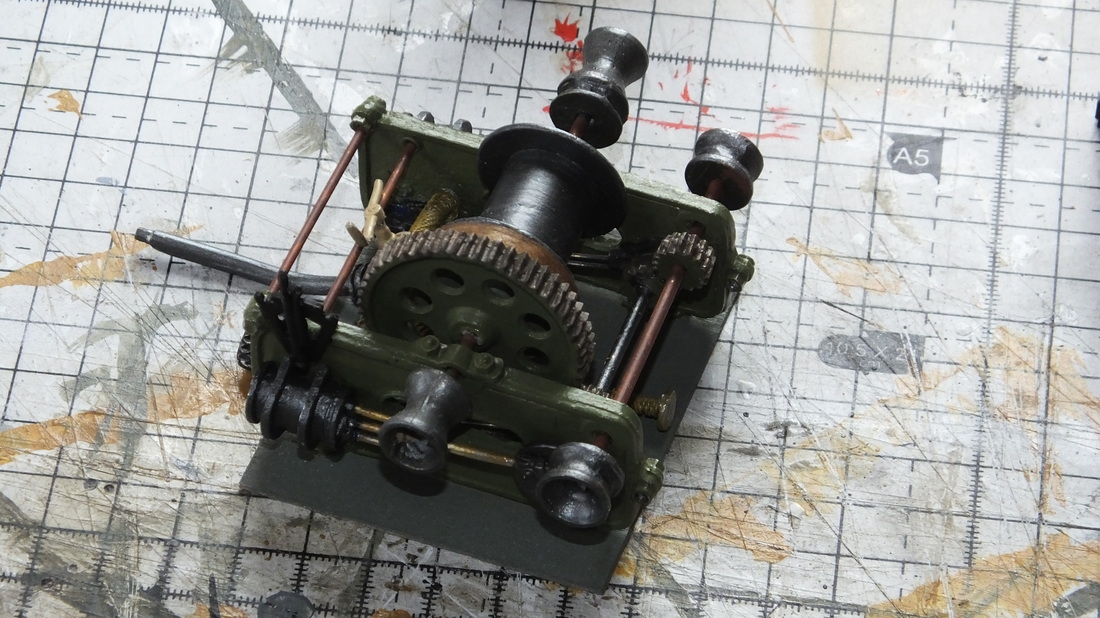
The steam winch, painted, weathered and detailed
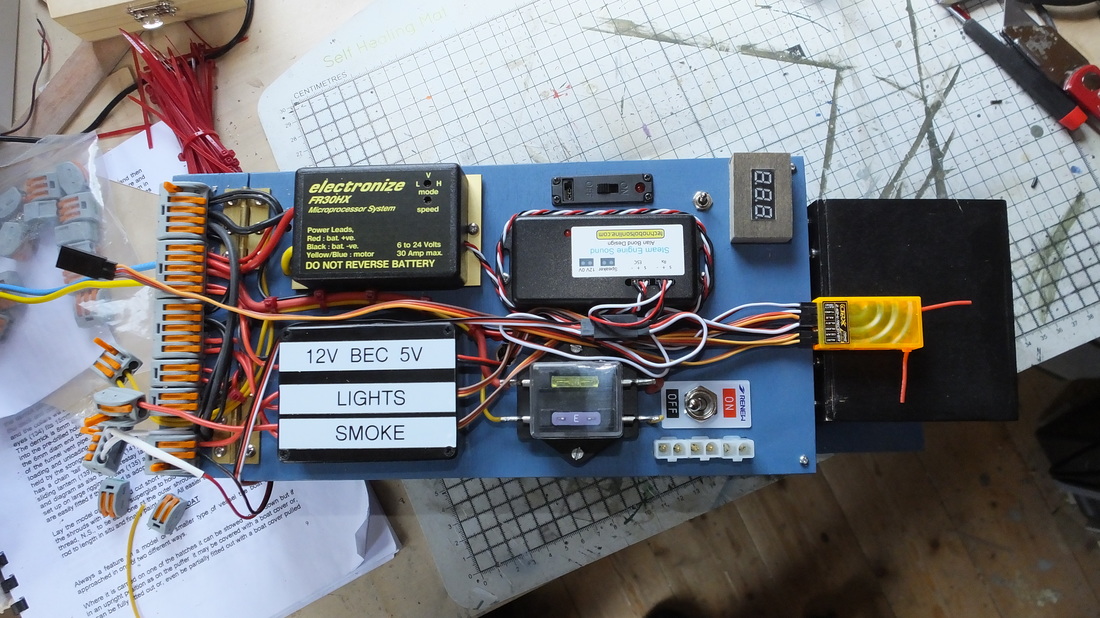
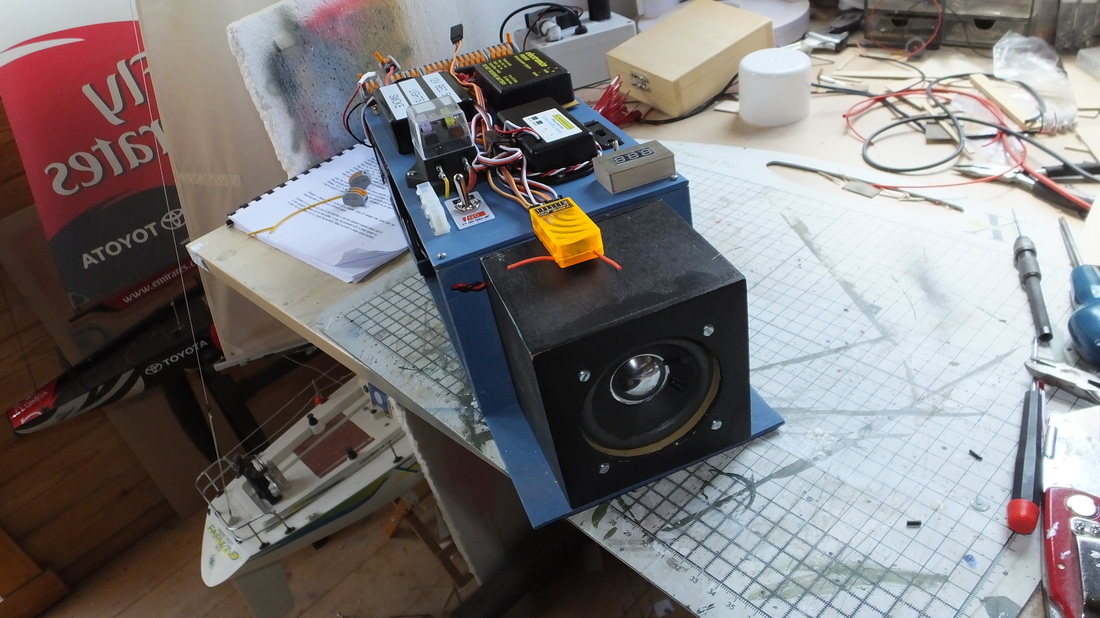
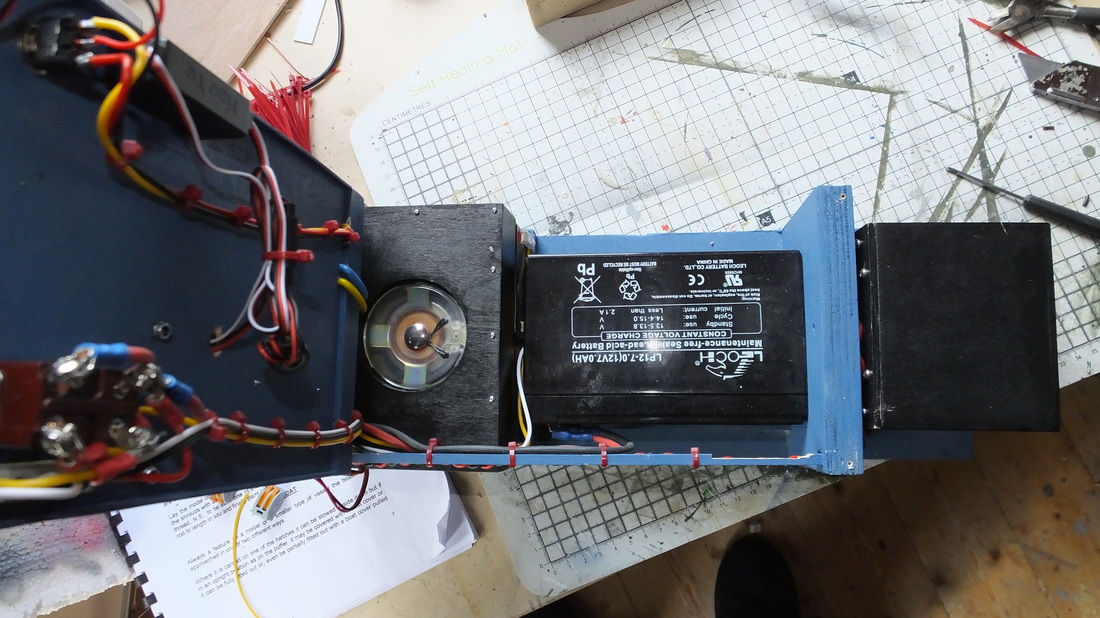
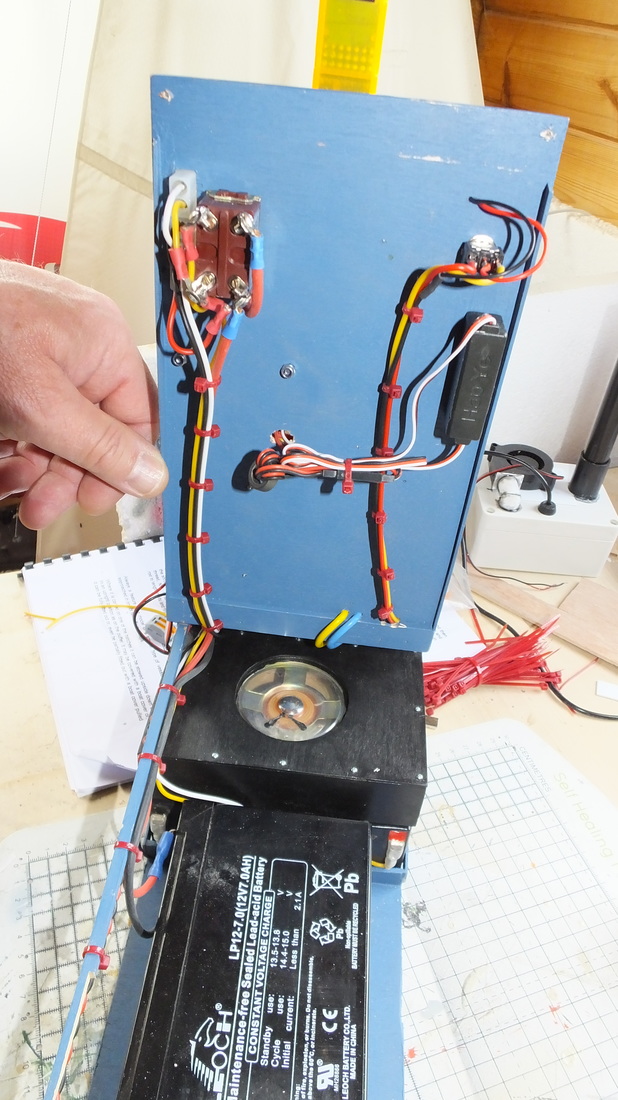
The board that controls it all, a 30 amp Electronize ESC, sound system, smoke and lighting system
